기존 운영중이던 apacheTomcat의 경우 80포트를 통해
redirect처리를 하여 하나의 톰캣 서버를 이용, 2개의 웹서비스를 운영 하였다.
|
1
2
3
4
5
6
7
|
<Host name="URL1" appBase="webapps" autoDeploy="false" xmlValidation="false" xmlNamespaceAware="false">
<Context path="/" docBase="TEST1" debug="0" reloadable="true" />
</Host>
<Host name="URL2" appBase="webapps" autoDeploy="false" xmlValidation="false" xmlNamespaceAware="false">
<Context path="/" docBase="TEST2" debug="0" reloadable="true" />
</Host>
|
<기존 톰캣의 server.xml 설정, 80포트번호를 통해서 들어오는 접속정보를 host name으로 구분하여 처리>
[문제점]
위와 같은 환경에서는 하나의 톰캣 서비스를 이용할 수 밖에 없으며, 만약 두개의 웹 서비스중 하나가 문제가 생기면
나머지 하나의 서비스도 같이 문제가 생기는 경우가 발생 할 수 있다.
또한, 톰캣에서 할당 할 수 있는 자원의 한계가 있으며, 서비스마다 자원의 영역할당이 다르게 분포될 필요가 있을 수 있을때는 좋지 않은 구성이 될것이다.
[해결방안]
nginX의 Reverse Proxy를 통해 여러개의 톰캣 서비스를 하나의 80포트를 사용하되
server_name을 통해 분기처리하여 사용하는 방안을 모색(ex: test1.org -> test1.org:8099
test2.org -> test2.org:8098)
* Reverse Proxy : 외부에서 내부 서버가 제공하는 서비스 접근시, Proxy 서버를 먼저 거쳐서 내부 서버로 들어오는 방식

아래의 환경설정 내역은 Window Server 기준
nginX 설치 url : http://nginx.org/en/download.html
nginx: download
nginx.org
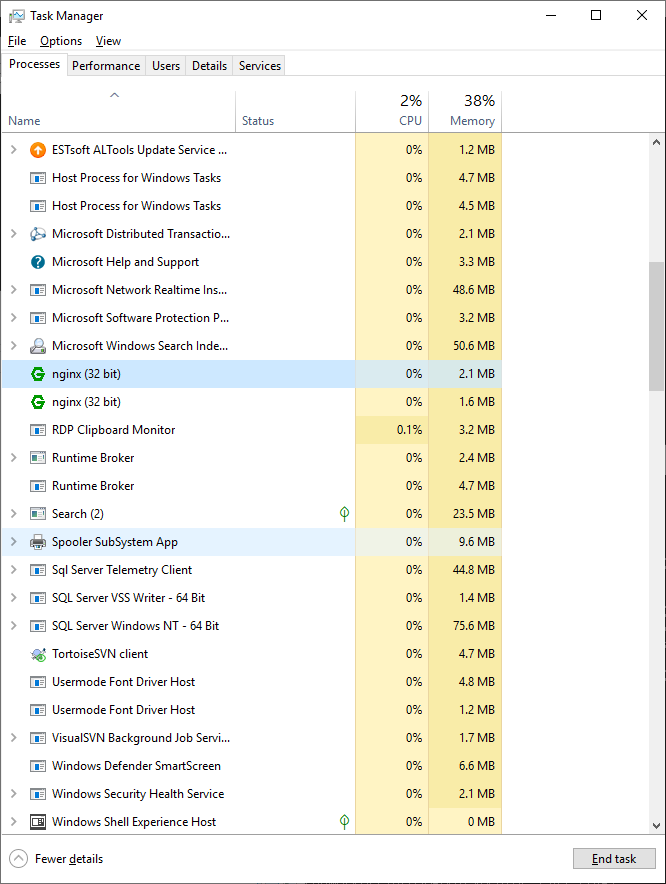
설치는 매우 간단하다. 다운로드 후 압축해제 -> nginx.exe 파일을 실행하면 작업환경 관리자에서 구동중인
nginX를 확인 할 수 있다.

우리는 각각 별도의 포트를 사용중인 톰켓 서비스를 nginX에서 분기처리하여 줄 계획이므로 conf->nginX
파일에서 server영역의 내용을 아래와 같이 수정한다.
|
1
2
3
4
5
6
7
8
9
10
11
12
13
14
15
16
17
18
19
20
21
22
23
24
25
26
27
28
29
30
31
32
33
34
35
36
37
38
39
40
41
42
43
44
45
46
47
48
49
50
51
52
53
54
55
56
57
58
59
60
61
62
63
64
65
66
67
68
69
70
71
72
73
|
#Tomcat서버 1설정
server {
#80포트로 들어올 부분을 결정한다.
listen 80;
server_name test1.org;
#charset koi8-r;
#access_log logs/host.access.log main;
#해당 도메인으로 접속 시 root설정
location /{
proxy_pass http://test1.org/index.jsp;
}
#css등 이미지 가져오기
#woff, otf:폰트관련
location ~ \.(css|js|jpg|jpeg|gif|png|html|woff|otf)$ {
proxy_set_header X-Real-IP $remote_addr;
proxy_set_header X-Forwarded-For $proxy_add_x_forwarded_for;
proxy_set_header Host $http_host;
}
#jsp페이지 가져오기
location ~ \.jsp$ {
proxy_set_header X-Real-IP $remote_addr;
proxy_set_header X-Forwarded-For $proxy_add_x_forwarded_for;
proxy_set_header Host $http_host;
}
#.do 실행 처리
location ~ \.do$ {
proxy_set_header X-Real-IP $remote_addr;
proxy_set_header X-Forwarded-For $proxy_add_x_forwarded_for;
proxy_set_header Host $http_host;
}
#servlet 실행 처리
location ^~/servlets/* {
proxy_set_header X-Real-IP $remote_addr;
proxy_set_header X-Forwarded-For $proxy_add_x_forwarded_for;
proxy_set_header Host $http_host;
}
#error_page 404 /404.html;
# redirect server error pages to the static page /50x.html
#
error_page 500 502 503 504 /50x.html;
location = /50x.html {
root html;
}
# proxy the PHP scripts to Apache listening on 127.0.0.1:80
#
#location ~ \.php$ {
# proxy_pass http://127.0.0.1;
#}
# pass the PHP scripts to FastCGI server listening on 127.0.0.1:9000
#
#location ~ \.php$ {
# root html;
# fastcgi_pass 127.0.0.1:9000;
# fastcgi_index index.php;
# fastcgi_param SCRIPT_FILENAME /scripts$fastcgi_script_name;
# include fastcgi_params;
#}
# deny access to .htaccess files, if Apache's document root
# concurs with nginx's one
#
#location ~ /\.ht {
# deny all;
#}
}
#서버1 설정 끝
|
test1.org로 접속 시 실행중인 tomcat서버의 http://test1.org:8099로 proxy_pass를 처리하는 설정 부분이다.
nginX에 해당하는 웹소스가 없으므로 css, jsp, .do등 모든 부분또한 proxy_pass를 통해 처리한다.
이와 똑같은 소스로 다른 나머지 tomcat서버의 proxy설정을 하면 80포트 하나를 통해
여러 tomcat서버를 사용 할 수 있다.
